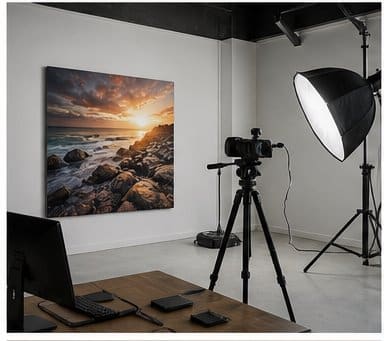
Begin with the original file
Use the original camera file or highest-quality edited export available. Messaging apps and social platforms often resize images, remove metadata and introduce compression artifacts that become visible in print.
Check pixels at the final size
Image quality depends on pixel dimensions, physical print size and viewing distance. Adobe identifies 300 ppi as a common high-quality target and notes that lower effective resolution can still work for larger prints viewed farther away.
Do not increase the DPI field and assume detail has been created. Resampling can add pixels, but it cannot restore focus, motion blur or lost facial detail.
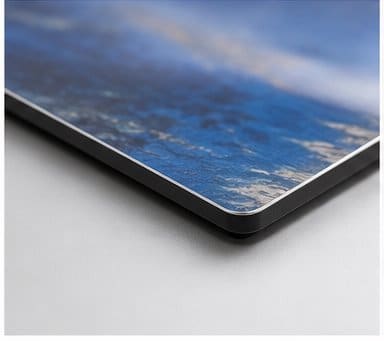
Crop for the panel ratio
A 4:5 photo does not fit a 2:3 panel without cropping or borders. Decide whether to crop, add a margin or select another size. Keep faces, text and important objects away from the trim and corner radius.
Edit for the chosen finish
Gloss can emphasize contrast and reflection. Matte reduces glare. A clear or brushed surface can make light image areas appear metallic because the aluminum shows through.
Avoid judging only from a bright phone screen. Review the proof on a calibrated display when color is critical and understand that transmitted screen light cannot exactly match a reflective print.
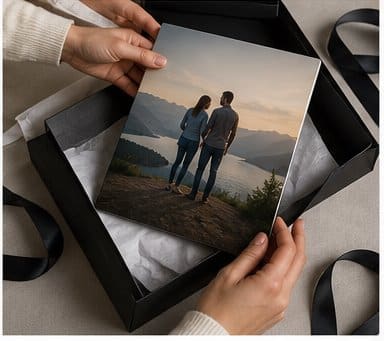
Export and proof carefully
Keep a master file with layers, then export the format requested by the print provider. Embed the intended color profile when supported, avoid repeated JPEG saves and inspect the exported file at 100%.
The proof should confirm crop, orientation, text, border, quantity and finish. It is a layout approval, not a guarantee that every screen will match the physical print.